> ## Documentation Index
> Fetch the complete documentation index at: https://docs.rootkey.ai/llms.txt
> Use this file to discover all available pages before exploring further.
# API Keys
> Generate and manage ROOTKey API keys for sandbox and production environments. Step-by-step guide for authenticating API requests.
## How to Create an API Key
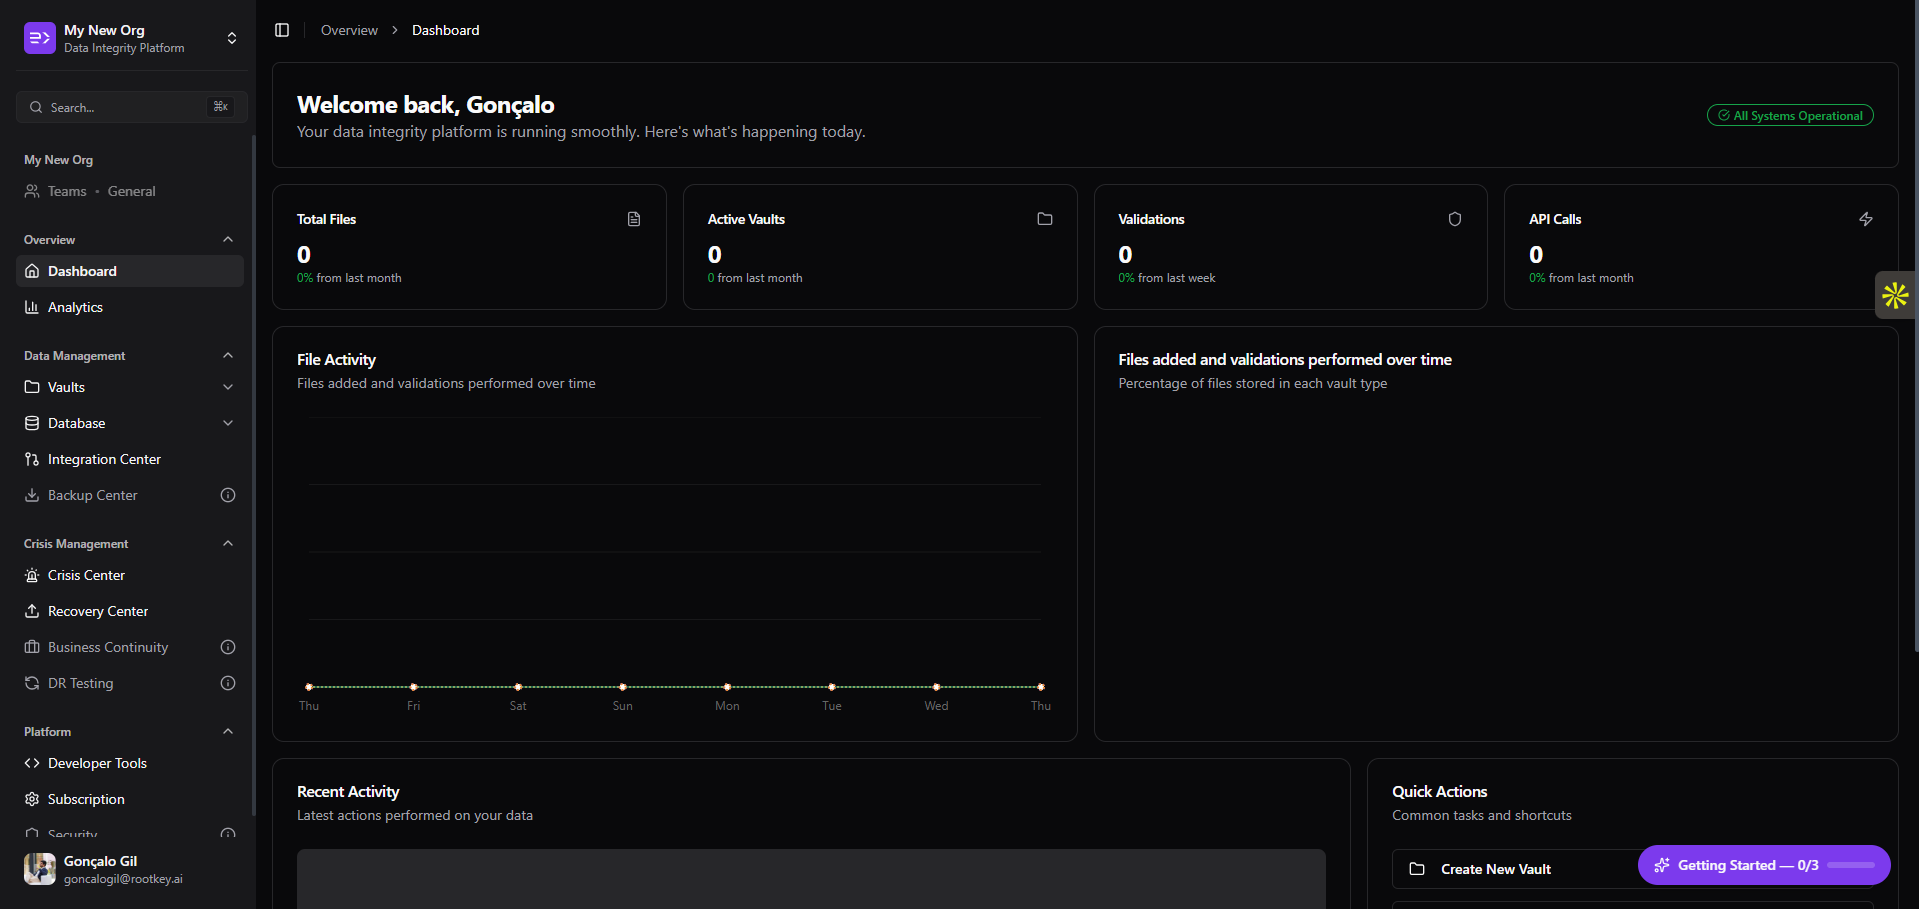
Go to [app.rootkey.ai](https://app.rootkey.ai/sign-in?utm_source=api_docs\&utm_medium=api_keys_page\&utm_content=login) and sign in. You will land on the main Dashboard.
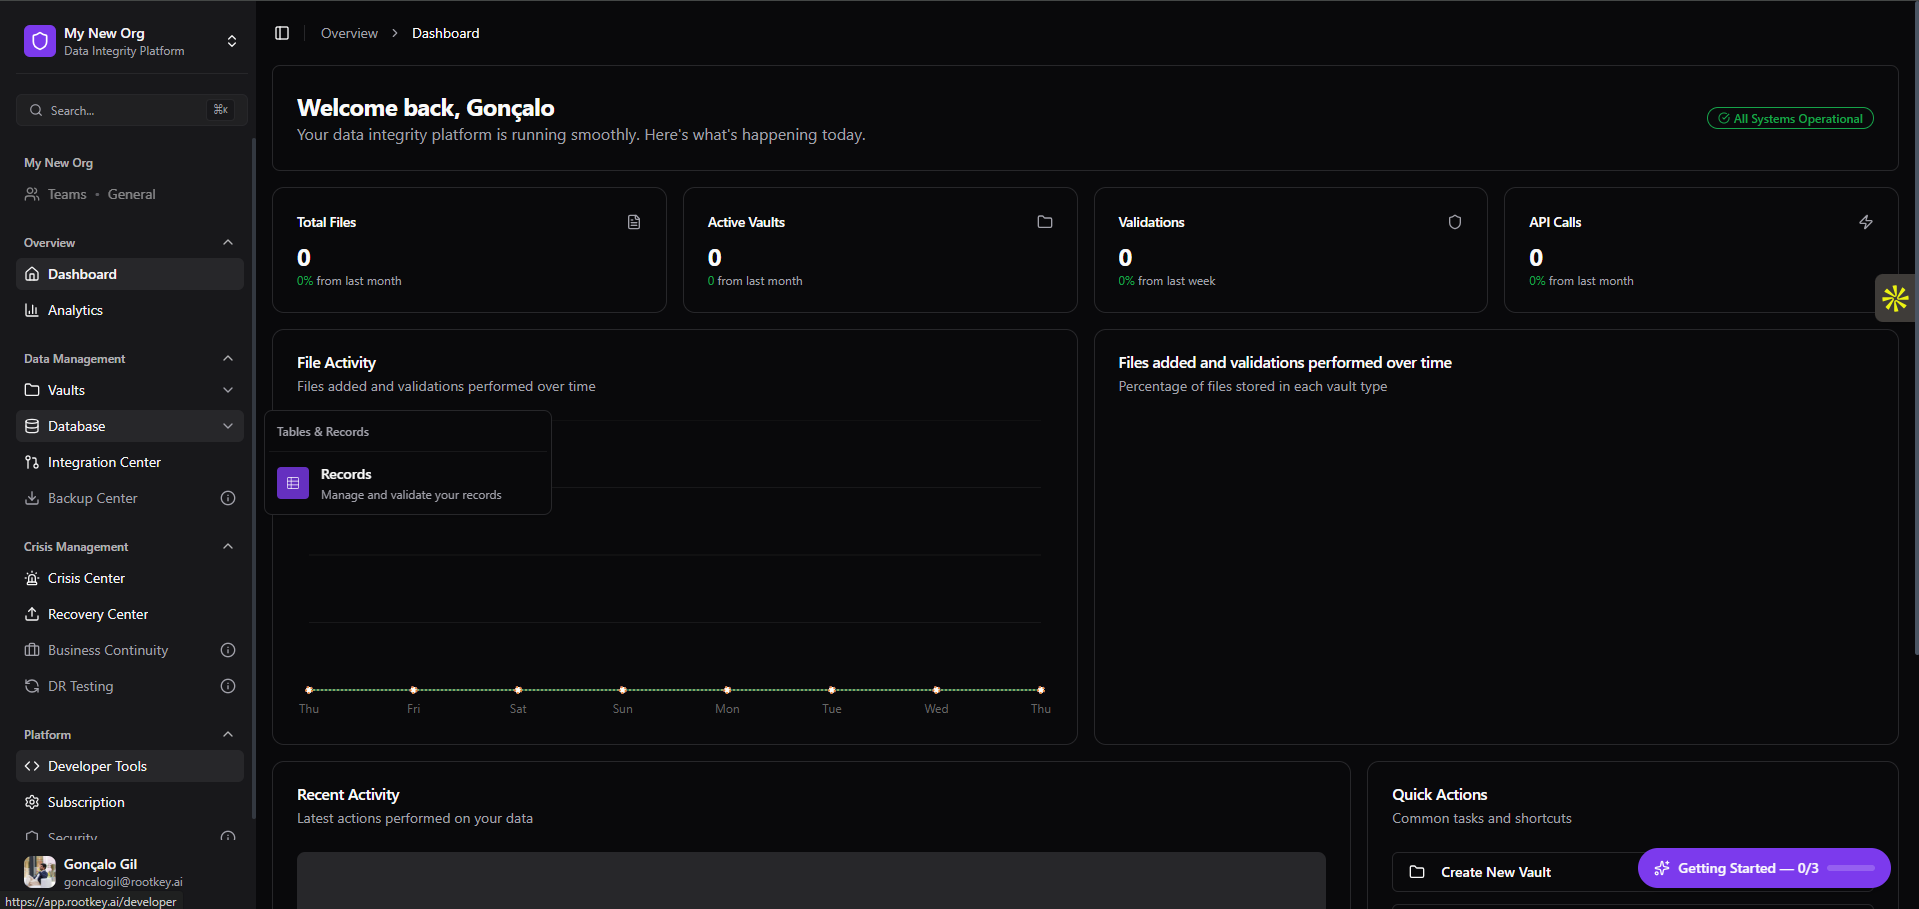
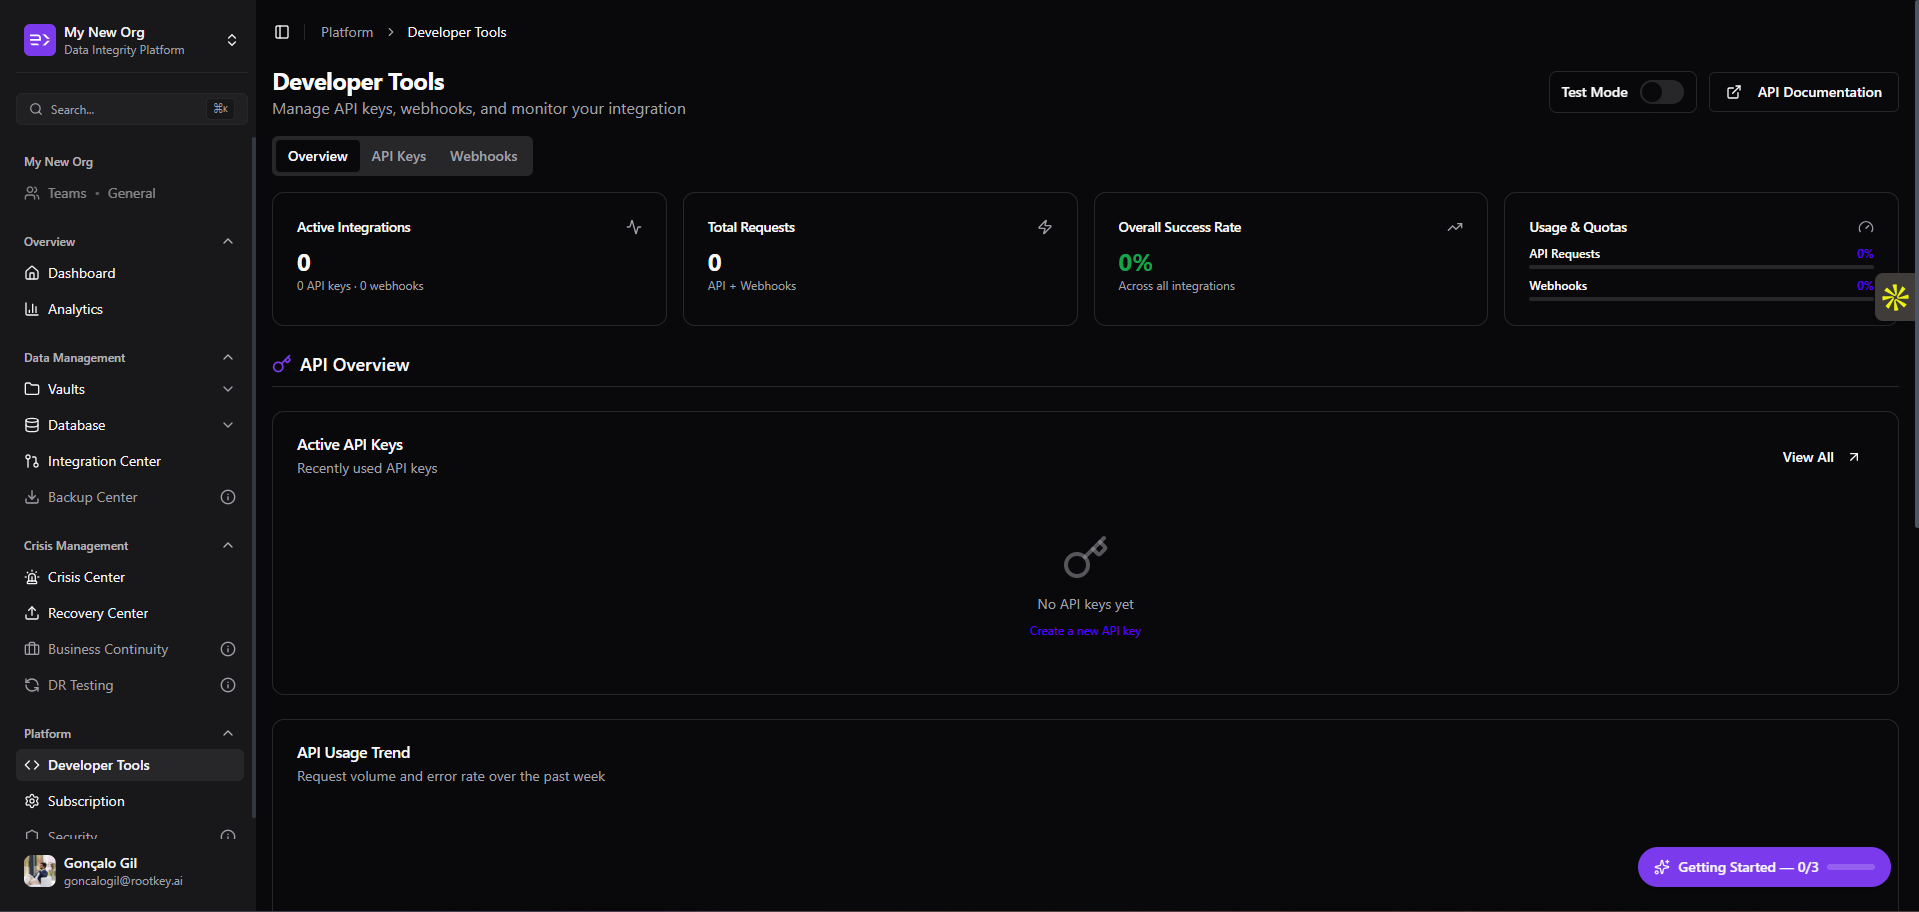
 In the left sidebar, scroll down to the **Platform** section and click **Developer Tools**. The Overview tab shows your active integrations, total request volume, and overall success rate.
 Click the **API Keys** tab at the top of the Developer Tools panel.
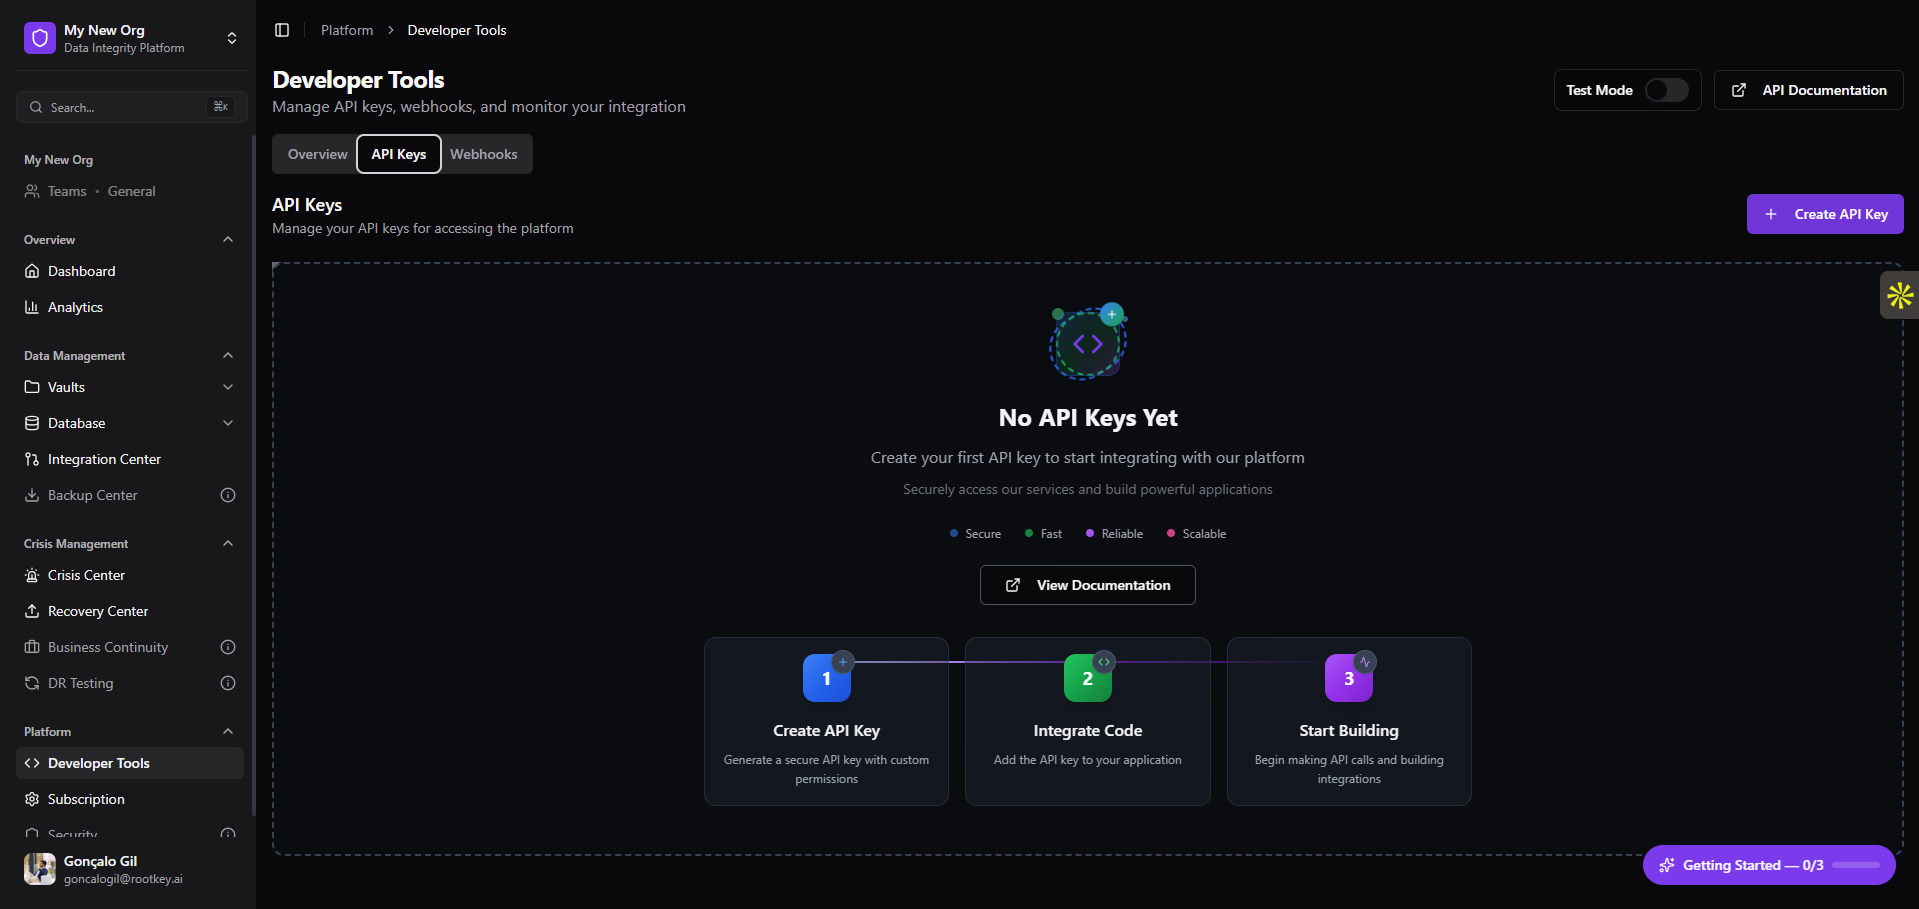
 If no keys exist yet, you will see the empty state. Click **+ Create API Key** in the top right corner to open the creation form.
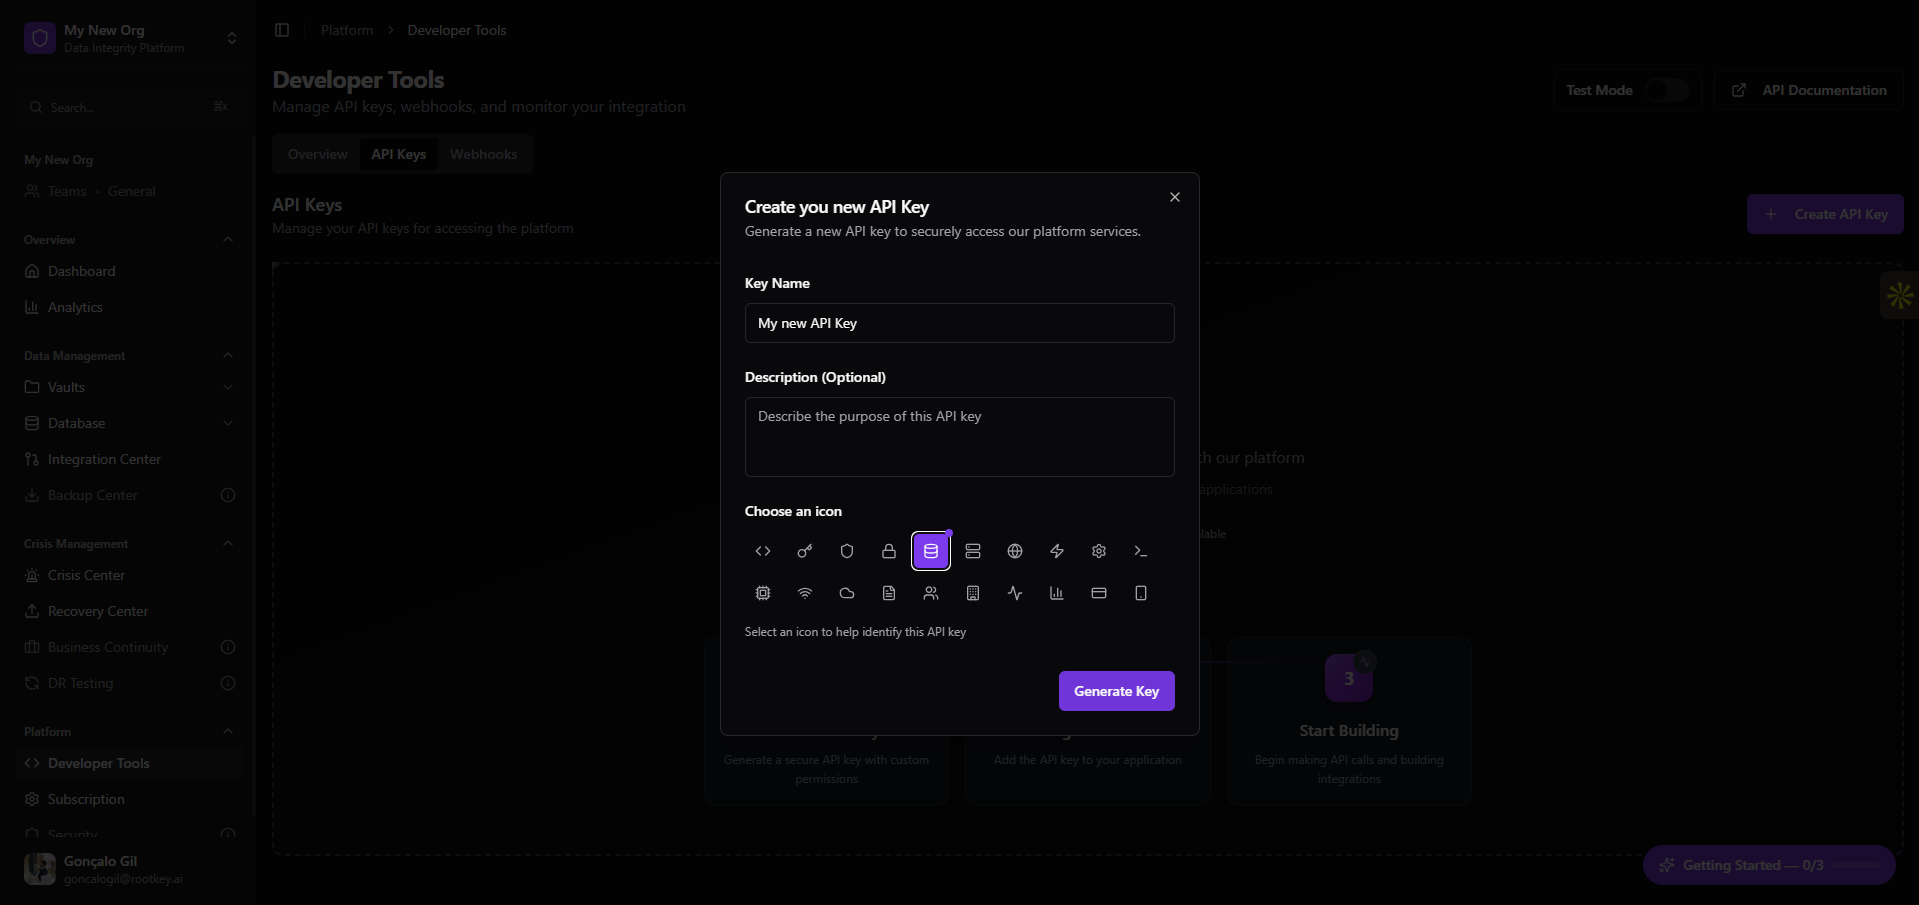
 Enter a **Key Name**, an optional description, and choose an icon to help identify this key. Click **Generate Key** when ready.
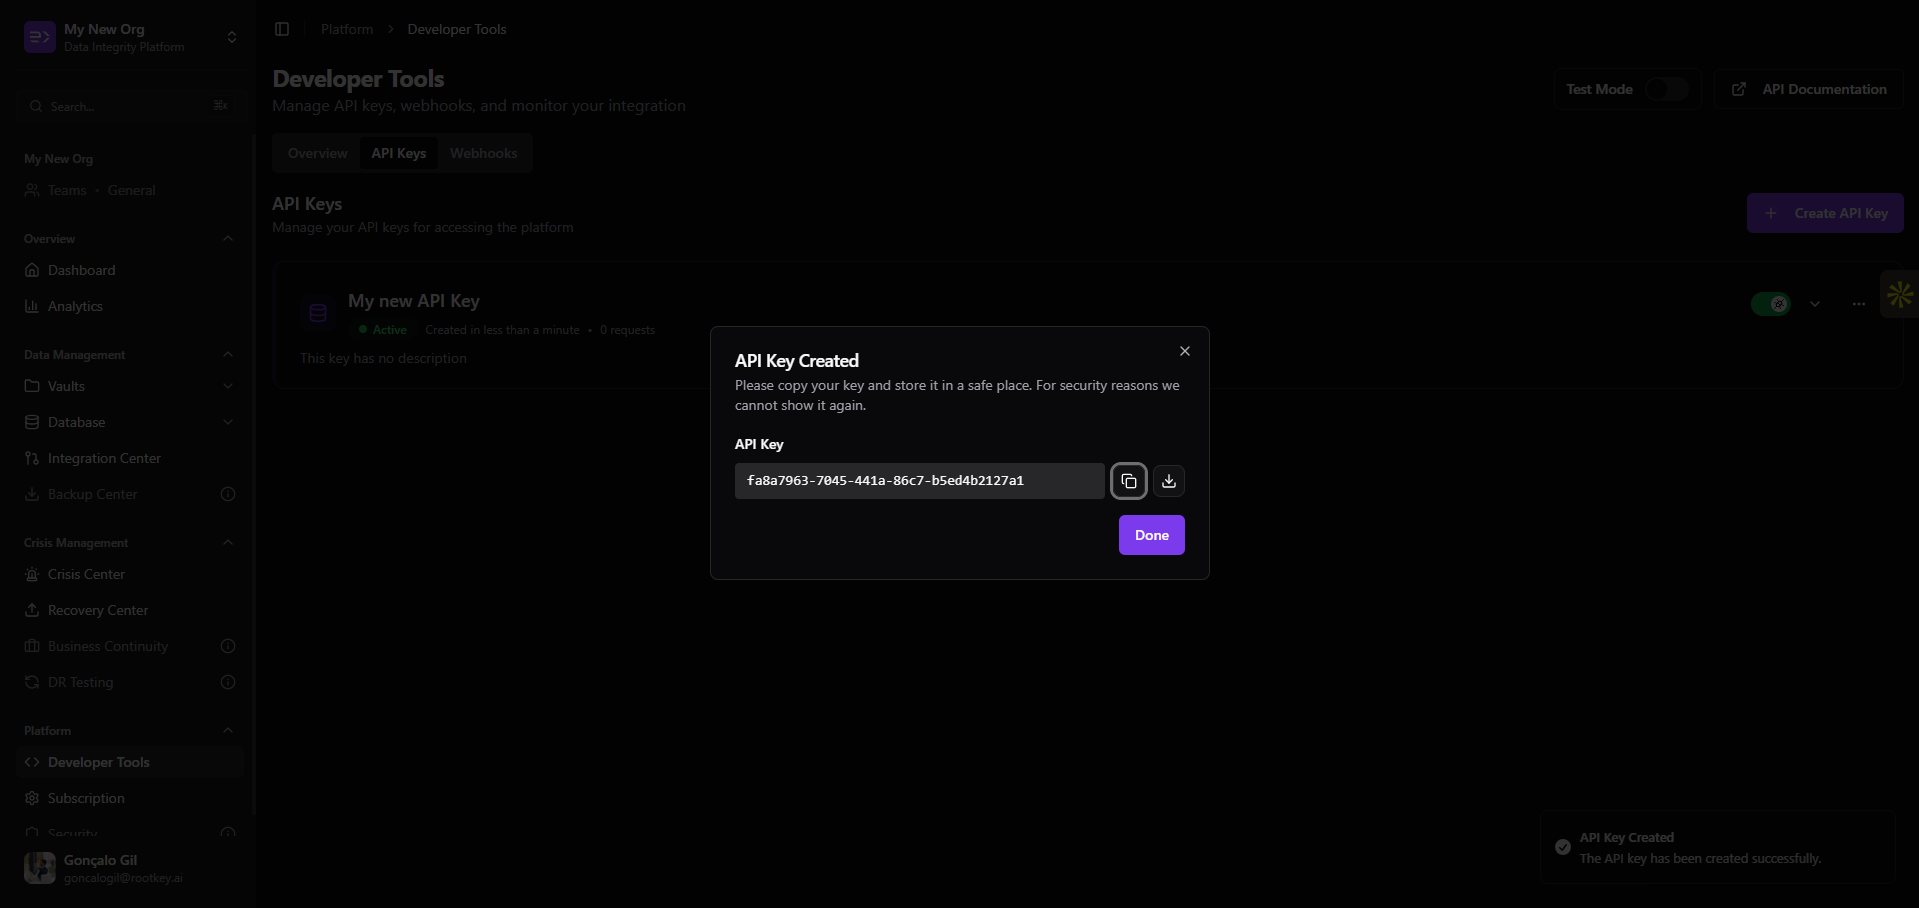
 Your new API key is displayed once. Copy it now and store it in a secure location - it will not be shown again after you close this modal.
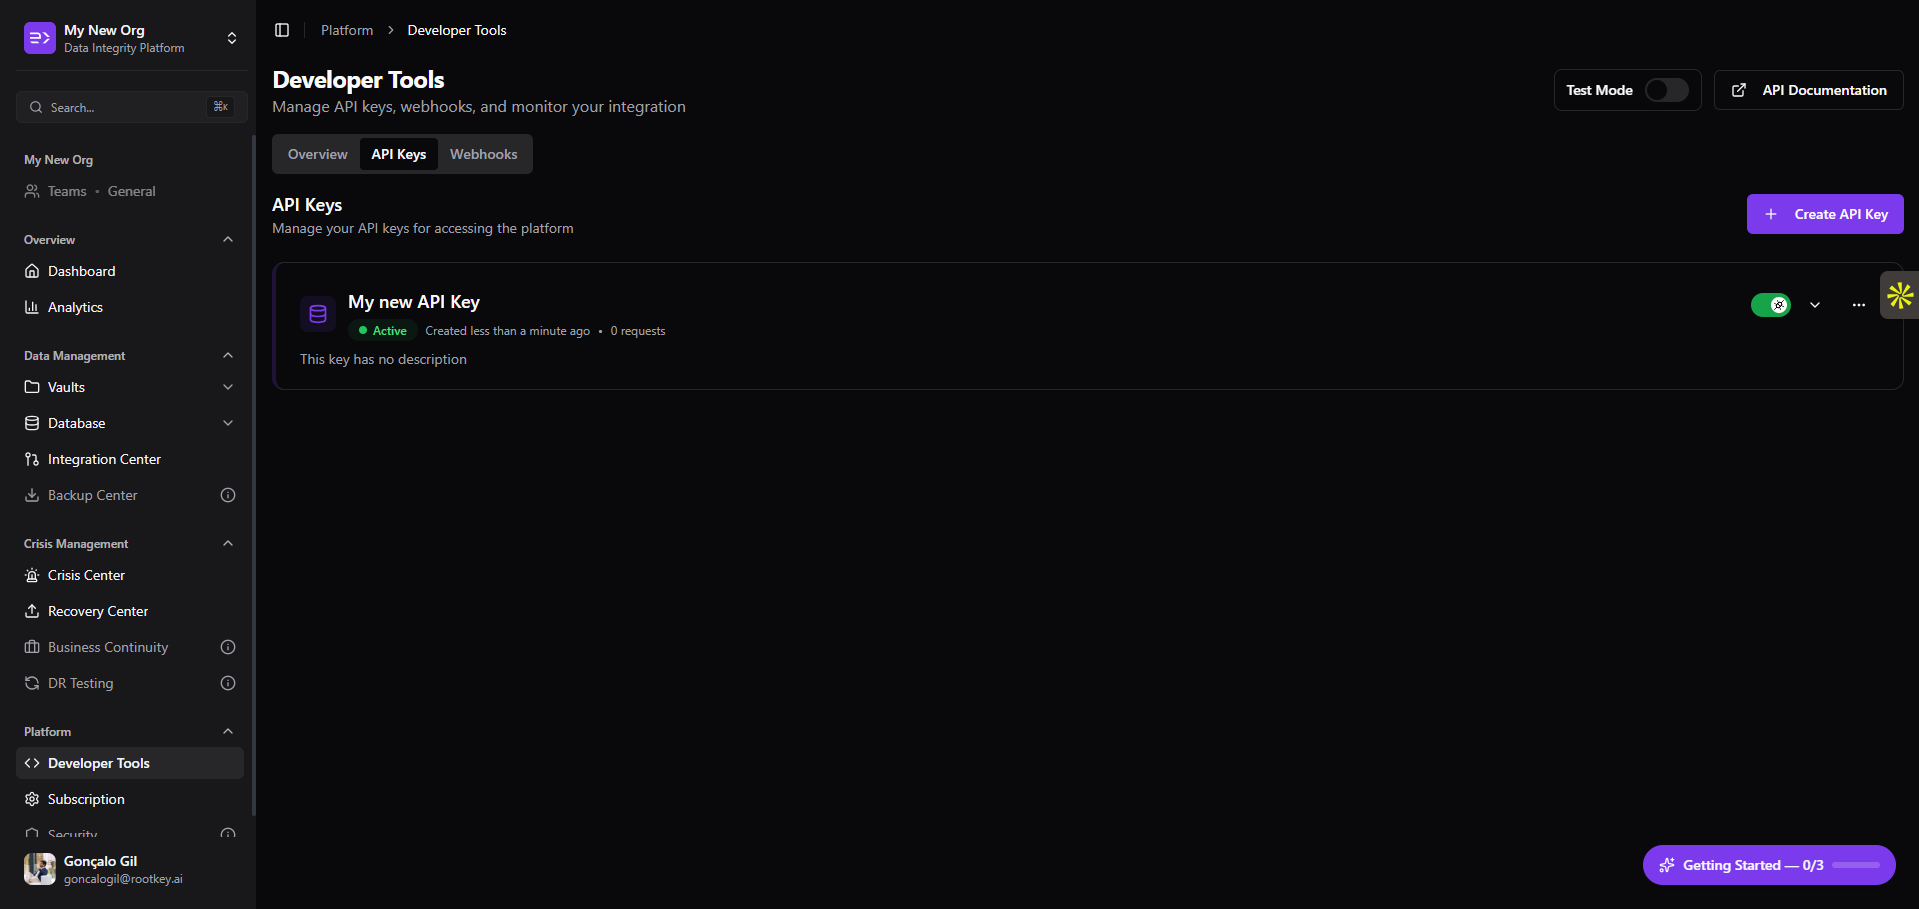
 After closing the modal, the key appears in the API Keys list with an **Active** status and a request counter. You are ready to authenticate API calls.
 ***
## Using Your API Key
Pass the key in the `x-api-key` header on every request:
```http theme={null}
x-api-key: YOUR_API_KEY
```
→ See [Authentication](/api-reference/auth) for the full reference and error handling.
***
## Best Practices
API keys grant full access to your workspace. Keep them server-side and use environment variables - never commit them to source control or include them in frontend bundles.
Create a separate key for each application or environment. This makes it easy to rotate or revoke a single integration without affecting others.
Regenerate keys on a regular schedule and immediately on any suspected exposure. Old keys can be revoked from the Developer Tools panel without downtime if a replacement is in place.
The Developer Tools Overview tab shows request volume and error rates per key. Unusual spikes may indicate misuse or an integration issue.
***
## Using Your API Key
Pass the key in the `x-api-key` header on every request:
```http theme={null}
x-api-key: YOUR_API_KEY
```
→ See [Authentication](/api-reference/auth) for the full reference and error handling.
***
## Best Practices
API keys grant full access to your workspace. Keep them server-side and use environment variables - never commit them to source control or include them in frontend bundles.
Create a separate key for each application or environment. This makes it easy to rotate or revoke a single integration without affecting others.
Regenerate keys on a regular schedule and immediately on any suspected exposure. Old keys can be revoked from the Developer Tools panel without downtime if a replacement is in place.
The Developer Tools Overview tab shows request volume and error rates per key. Unusual spikes may indicate misuse or an integration issue.